Sunday, December 25, 2011

Winter Wonderland Ornaments... TWENTY-FIVE

Merry Christmas!!!

On the 25th of December it is time to reveal my final ornament using the WINTER WONDERLAND collection from My Little Shoebox. I have had so much fun making all of these and appreciate your sweet comments and emails! For this ornament I used the #25 from the COUNTDOWN paper and embellished it with Vintage Photo Distress Ink and Stickles. The journalling is the chorus from one of the Christmas songs the girls have been singing non-stop!
This picture was the last one taken of our family together in California. I look at this photo as the calm before the storm... and we have been so very blessed in all the ups and downs our family has experienced this year!
The poinsettia was made from the large flower punch from EK Success and then trimmed the petals to be a bit more pointy. Stickles and pearls were then added to make the flower sparkle!
Wishing you all a very Merry Christmas and Happy New Year!!!

Creative Cheers!!!

Saturday, December 24, 2011

Winter Wonderland Ornaments... TWENTYFOUR

Merry Christmas Eve!!!

It is the 24th day of December and with so much yet to do this post will be kinda short. This ornament is really pink... pretty in pink!!! I love this rolly flower from the 3D Diecut sheet and with a little shimmer {courtesy of Martha Stewart's Glitter and Glossy Accents} this flower really sparkles!
This photo was taken this summer in NM. Our youngest daughter had just torn her favorite blanket and Grandma Helen was quick to mend her tears {and her blanket} with her love and a few stitches.
The flower was made using the EK Success Punch and then the journalling was done with PEPPERMINT Mini Alphas & CHERRY PIE Glitter Alphas. I distressed the petals with a burgandy-ish ink and then layered them with Glue Dots.

Thank you for stopping by and wishing you all a very Merry Christmas!!!
Creative Cheers!

Friday, December 23, 2011

Winter Wonderland Ornaments... TWENTYTHREE


Good morning all!

The sun is shining, the girls are up and full of energy... and I am trying to keep up! Today is the 23rd of December which means only two more days before the real celebration begins. This ornament was made using the GUM DROP LANE & COUNTDOWN papers, the 3D Diecuts, PEPPERMINT Mini Alphas, SNOWFLAKE Glitter Alphas, Stickles, Vintage Photo Distress Ink, Buttons, Lace and Twine.
This picture was taken this summer in NM at my parents anniversary party. It was such a great time getting to see all those friendly faces that my parents have spent so much time with over the years. We are extremely blessed and spending time with one another is the true gift!!!
I love the stripes on the 3D Diecut flag so after distressing them I adhered them together {points pointing toward each other} and then secured the newly created "bow" with a button.
Thanks for stopping by today!
Creative Cheers!

Thursday, December 22, 2011

Winter Wonderland Ornaments... 20, 21 & 22


Yeah, so we have been busy again!
It is that time of year...

As I went to upload my photos on Monday I had taken so many of the girls recital, trip to ABQ, cooking making, etc. I just had too many pictures and my poor MAC couldn't handle it. Well, in all fairness to my sweet MAC {who I love so dearly!} it is my fault for having 25k+ pictures on iPhoto. Before you ask, yes they are all backed up... I just have a hard time parting with the visuals! Don't worry, I am working through and editing which is something I should have been doing from day one... but I am still learning! Now, onto the ornaments...

A little bit about 20:
The picture for this ornament shows what has become Wragge Family Tradition... After all the gifts are opened and the wrapping paper covers the floor, we round up all the loose pieces and then create a leaf-like pile with them and then have the girls lay in the wrapping paper to take a picture. I love this tradition... my husband not so much. Either way, the pictures always come out hysterical, the girls have so much fun jumping in the paper and eventually we clean up the wrapping paper mess!
The stickers for this line are so very much fun to play with!!!

A little bit about 21:
This ornament is STICKLES happy... I mean I covered this puppy in Stickles! They just add so much sparkle to the snow and it creates a fun textured look! I hand cut the heart for journalling and then used a rolly flower to embellish it. The Vintage Photo Distress Ink makes the border and defines the edges of the leaves.
This picture was taken this summer in Arizona. These two stick together like glue and the tender moment between them just made my heart melt. They truly love eachother - they are sisters - but they know what buttons to push and when!

A little bit about 22:
This is one of 38 ornaments I made for the teachers, women in our bible study and our Rams Kid's Camp teachers. They are a different take on last year's however they turned out nicely and made a wonderful gift paired with hot chocolate and marshmallows!
I saved one of the ornaments for myself, because I wanted to remember what I made this year for presents. It is always fun to go back and see what you have created before and to see how much you have grown creatively.

Thank you for joining me today!
Looking forward to seeing you next time... hopefully tomorrow!

Creative Cheers!

Monday, December 19, 2011

Winter Wonderland Ornaments... NINETEEN

Good morning! Hope you are having a wonderful start to your week! Today's ornament was fun to create... very out-of-the-ordinary-color-pallet for me when it comes to Christmas {I was inspired by my dear friend - wink, wink!} so I challenged myself to stay in the blue! I used the darling WINTER FOLLY paper with all the snowflakes for the medallion and then wiggled my way with my circle punch to find an all blue spot on the SNOWFLAKE VALLEY paper which served as the anchoring center piece of the ornament. The alphas are non-other than MARSHMALLOW SPRINKLE GLAZED ALPHAS dusted with blue chalk to make them blend the blue and the white together. The snowflakes were made using different sized punches and then the silver glitter border was made with the help of Martha Stewarts Sterling glitter and Glossy Accents.


For the back side of the ornament, I decorated the #19 of the COUNTDOWN paper with Stickles and Glossy Accents and then adhered it to the center of the medallion. It is simple but brings together all the colors from the "B" side of the WINTER FOLLY PAPER.


Thank you for stopping by today!
Hope you have a wonderful day and looking forward to seeing you tomorrow!!!

Creative Cheers!

Sunday, December 18, 2011

Winter wonderland Ornaments... 17 & 18


Again, my apologies for missing yesterday... and barely making it by today! Yep, it's that time where your "to-do" list is getting so long I decided to stop putting things on it... or worse, put things on it that I already did just for the pure satisfaction of checking something off! I know, it's crazy... but it is what it is!

A little bit about #17:
This ornament was inspired by last year's creation using WINTER WONDERLAND papers. My dear friends Pattie and Rocio taught a group of us how to make these beautiful medallions and I must say that make pretty little ornaments in a pinch!
These pretty medallions were so very much fun to make and they were super easy!
{a great thing if you have to make 38 ornaments in 3 days... just saying!}

A little bit about #18:
The picture on this ornament was taken the day our first official weekend in Missouri. It was chilly {again, coming from CA anything below 70 is chilly!} and the girls were just itching to weather their new coats. Each morning they would wake up and check outside to see if it snowed. It hasn't yet, except for the "non-stick" kind but the point is they can't wait to get out there when it really snows! The Cardstock Sticker was perfect for this ornament... showing what the girls are anxiously waiting for!
For the COUNTDOWN side I used the Unity Stamps with Vintage Photo Distress Ink and Diamond Stickles to add to the ornament without a lot of bulk. The Glitter is always a great way to spice things up for the holidays!
Thank you for stopping by today!
Thank you for baring with me!
Looking forward to seeing you tomorrow!

Friday, December 16, 2011

Winter Wonderland Ornaments... SIXTEEN

Good morning! Hope you are having a wonderful day - remember, it's friday!!! This weekend will be jam packed with activities, holiday get-to-gethers and good food! It also means it is time to clean and the one area of the house that does not have to get swept into a big grey tub {shout out Davey!} is my scrap desk. This is the first time I can just leave my creative goodies out and when the time is right be able to pick up right where I left off. I am spoiled, this I know! So... for this ornament I wanted to highlight the fact that my desk is the center for all creating... and I feel truly blessed!

The border is a pretty vintage pink color from Martha Stewart's Glitter collection and courtesy of Glossy Accents it added that special touch to the border. The flower was made using the EK Success punch and the STARBURST paper.

The leaves of the flower are stamped with the Unity Stamp using the Vintage Photo Distress ink - the sweet little message pops through which starts to melt my heart a little!

The journalling on the back side reads "Nothing says "loves to scrap" like a messy desk" and it is true, the messier you are the more fun you are having. The GLITTER ALPHAS and the MINI ALPHAS added nice dimension to the ornament and it was fun to mix and match.

I love to create! In fact, I will fess up that after a long night of crafting, I half-heartedly scrubbed the adhesive/glitter mixture off of my hands and went to bed. Sure enough, the next morning I woke up and my hands were stuck together! Moral of the story... have fun, make a mess... just THOROUGHLY wash your hands before going to bed!

Thank you for stopping by and looking forward to seeing you again tomorrow!
Creative Cheers!

Thursday, December 15, 2011

Winter Wonderland Ornaments... 14 & 15

Dear Blog Readers,

Please forgive me for missing yesterday's post... honestly I have no excuse, just too plain busy! I have to say I was sorta proud of myself for making it this long {don't worry, I still have PLENTY more ornaments to show you because yes, our tree was virtually bare before this handy dandy little project!} without missing! Yes, the blog experienced "technical difficulties" last week however yesterday I just dropped the ball! I promise the ornaments are done, I have yet to photograph them. I thought about turning the Christmas lights on and trying to fake good lighting just to show you however the chances of waking up the munchkins is too great - it is almost like they can sense when the Christmas lights are on, it is that time of year!!! So... today will feature 14 & 15!!!

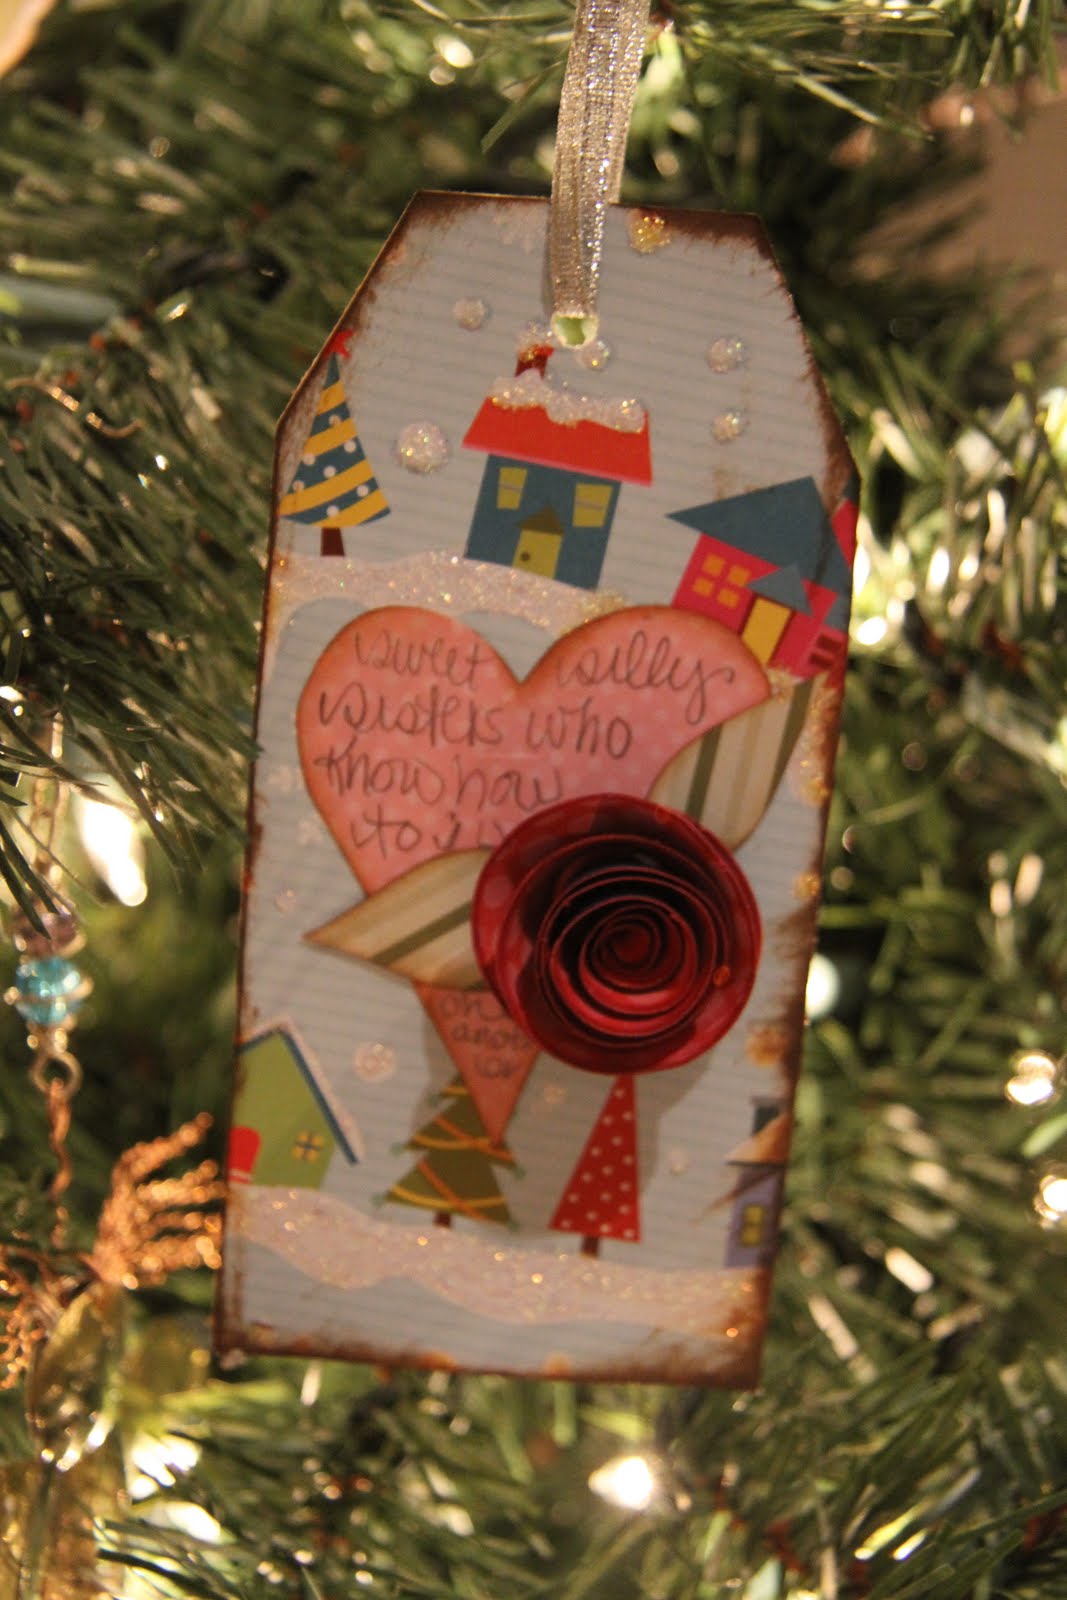
A little bit about 14...The picture for this ornament cracks me up! It was taken at the tree farm where we went to pick out our famous Charlie Brown Christmas tree {Tony still isn't over those looks he received from strangers for picking out the scrawny tree - it had character!!!} Anyways, Avery got a real "taste" of our little adventure!


The picture side of the ornament has a Martha Stewart Glitter border courtesy of Glossy Accents. The journalling side of the ornament was stamped with the Unity SNOWFLAKE stamp and then the #14 from the COUNTING DOWN paper was embellished with a little Glossy Accents.

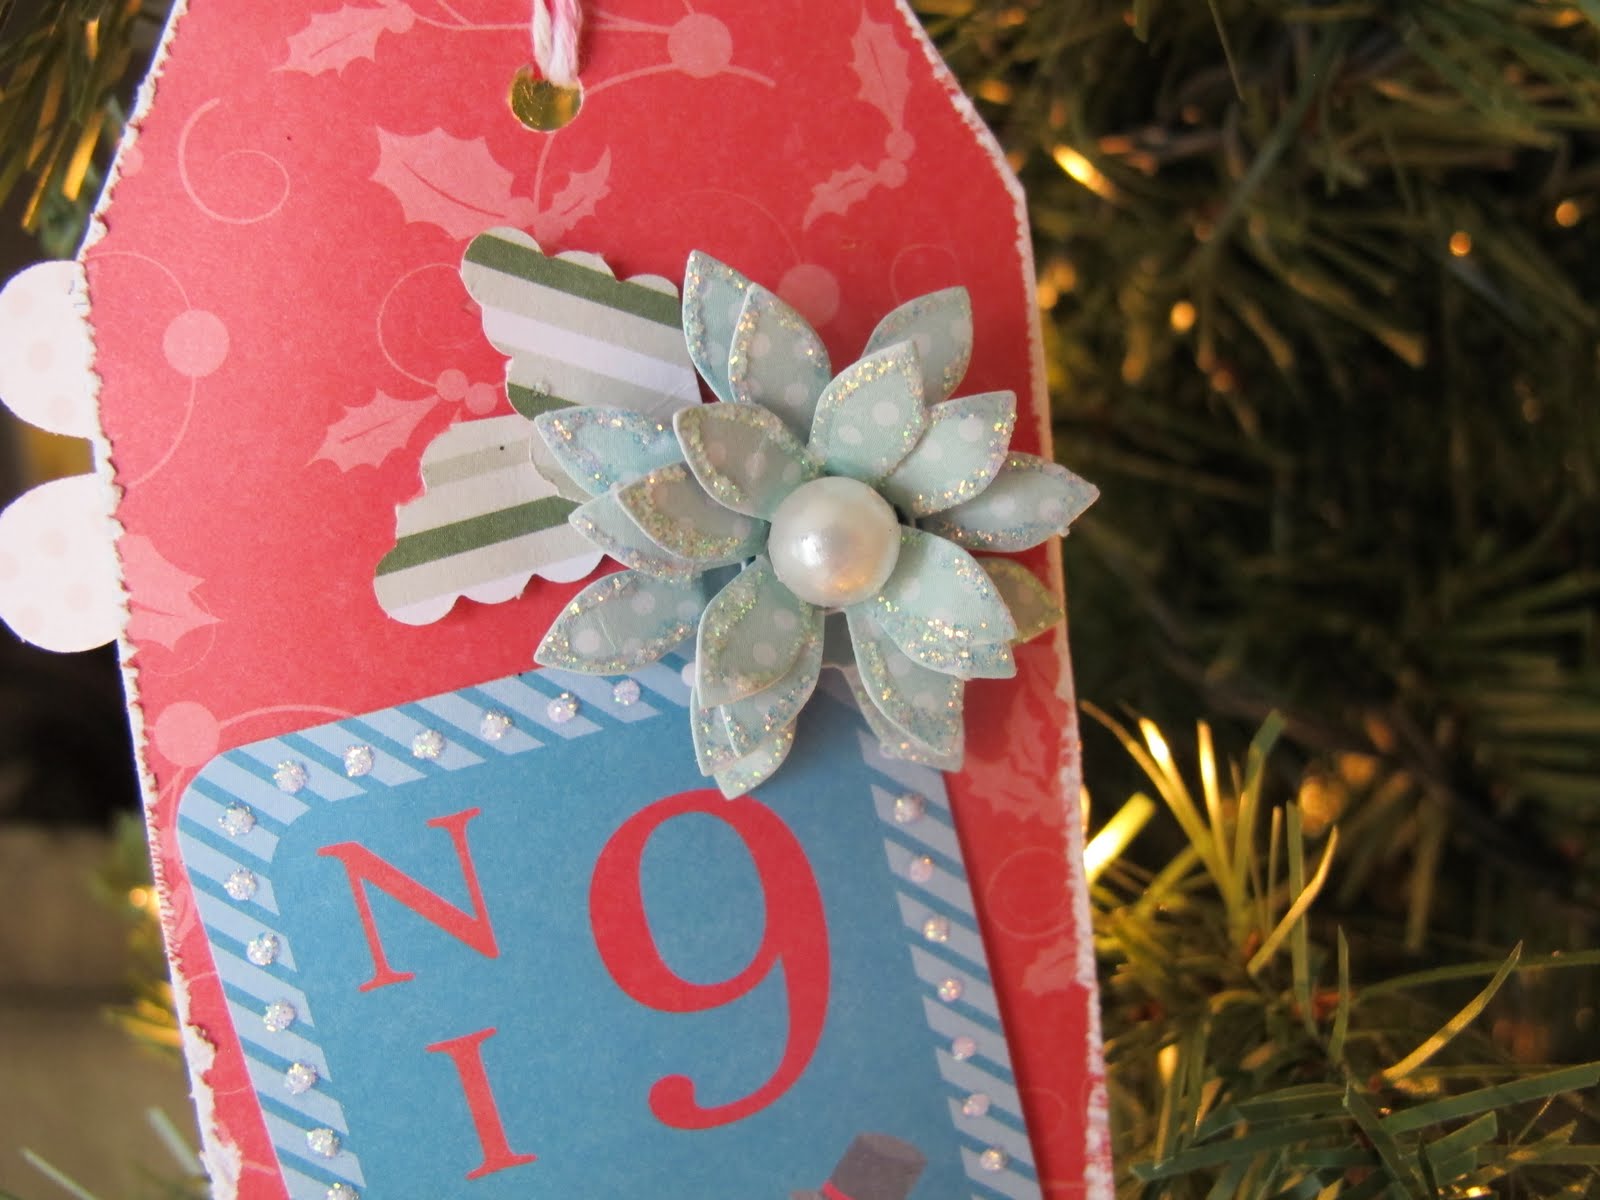
A little bit about 15...Oh sweet Addison, this picture was taken on her first day of Kindergarten in California. A lot has happened since this photo was taken however it makes me smile seeing our first born take those big steps... uniform, special lunch box, memorizing bible verses, etc. It is amazing how quickly she is growing up - it seems like only yesterday she was a little toddler with red sparkler piggie tails!


To embellish the picture side of the ornament I used the Marvy Star Punch on the STARBURST paper and then distressed the stars using Vintage Photo Distress Ink. The #15 from the COUNTING DOWN paper is wrapped around both sides of the ornament and then distressed. I used the SNOWFLAKES Glitter Alphas to spell out "star." For the other side of the ornament I used the journalling stamp from Unity and stamped the whole tag. The STARBURST paper was punched with the 3in scallop punch and then trimmed to fit on the tag. The pretty blue snowflake rolly flower added a nice touch to this side of the ornament.


Thank you for stopping by today!
Hoping to see you all for #16!!!
Creative Cheers!

Tuesday, December 13, 2011

Winter Wonderland Ornaments... THIRTEEN

Happy Tuesday!!!

Today has just flown by... literally! For today's ornament I turned to one thing that is 100%, guaranteed to get even Scrooge in the holiday spirit - MUSIC! There are too many songs to name {Jingle Bells, Winter Wonderland, Little Drummer Boy, etc...} So for the 13th ornament I chose the very warm, comforting lyrics of Silent Night. This is by far my favorite Christmas song... it is the one I really, really looked forward to hearing at our church's midnight service {plus there was the cool-let's-light-the-candles-oh-I-forgot-to-mention-I-am-a-bit-of-a-pyro!} Getting back to the WINTER WONDERLAND ornament... the song is a gift, therefore it seemed fitting to have this ornament be a present!
Simple, yet pretty because of the darling designs on the WINTER FOLLY paper. The silver ribbon from my stash-o-ribbons just added so much to this gift!
The poinsettia was created using the EK Success punch {trimmed the petals to be a bit more pointy} and the SNOW FLAKE VALLEY paper. The leaves were hand cut using the STARBURST paper, then distressed with Vintage Photo Distress Ink. The pearls were on an old princess dress of the girls and adhered with Glossy Accents!
Thank you for stopping by today and looking forward to seeing you tomorrow!

Creative Cheers!

Monday, December 12, 2011

Winter Wonderland Ornaments... TWELVE

On the twelfth day of Christmas I created just for me...
A sweet little WINTER WONDERLAND ornament filled with giggles and glee!!!

I heart the SNOWFLAKE Stamp from Unity and for those of you following you are seeing it everywhere! It is so versatile and makes these ornaments pop! For this one, I distressed the cardstock tag with Vintage Photo Distress Ink, then stamped it using the Unity Stamp and the blue chalk. The flower was created using an EK Success Punch {trimmed the petals to be more pointy} and then edged them with a cranberry-like chalk. Again, wish I had the name of the chalk however between my constant use of them and my girls... well, their label is long gone! To highlight the COUNTING DOWN number 12 I used Diamond Stickles on the white border to make it sparkle!
For the other side of the ornament I chose this photo from our summer trip to the cabin. Grandma had so much fun having all the grandkids under one roof so they played, and played, and played their little hearts out! I was so happy to capture this sweet moment - this is why I take pictures! The flower is made from the same EK Success punch {without the petal trimming} and the pearl is from one of the girl's old princess dresses. For the ornament's title I chose the SNOWFLAKE Glitter Alphas from My Little Shoebox.
Thank you for visiting today!
Hope you have a happy Monday and looking forward to seeing you again tomorrow!

Creative Cheers!

Wednesday, December 7, 2011

Winter Wonderland Ornaments... EIGHT


Hello all! It is Thursday, December 8th and time for another WINTER WONDERLAND ornament! As some of you already know, I am a wee bit obsessed with every.single.color of MLS MINI ALPHAS! I find them inspiring and it fun trying to come up with new ways to play with these little gems! For this gift tag, I kept it pretty basic. I trimmed a semi-square out of the PEPPERMINT minis, covered it in Glossy Accents... waited for it to dry and then attached pretty red polka dot ribbon to make the present!
This is one of those photos that just melts my heart!
Yes, it is somewhat blurry because of course they wouldn't hold still...
I love it... blur and all!!!
I trimmed the number 8 off of the COUNTING DOWN paper and then layered it with one of the delicate snowflake cardstock stickers.
Sweet, simple... very meaningful!

Thanks for popping by today!
Tomorrow is another great ornament that is just flower-ific!!!
{p.s. do you like all my made up words???}

Creative Cheers!

Winter Wonderland Ornaments... ELEVEN

Happy Sunday everyone!

Today's WINTER WONDERLAND Ornament is a special one! I realize if it weren't for certain people in my life I would have never come to know and love this art of scrapbooking... and for that I will be forever grateful! This is a picture that was taken of my dearest friends Pattie and Linda this past August. They are two of the most genuine, caring, self-less people I know and when it comes to crafting... watch out because their talent is just as amazing as their love for others!

The ornament dons the ELEVEN tag from the COUNTING DOWN paper and I just lined it with Glossy Accents to add a little texture. I paired the tag with the diecut rolly flower and used a little red button as the center.
For Linda and Pattie... love you both & miss you dearly!

Creative Cheers!

Winter Wonderland Ornaments... TEN

Greetings! So I am a little late in getting today's WINTER WONDERLAND post up! But all good things come to those who wait... right??? This ornament is a gem of a memory. This past spring I had the opportunity to go see GLEE in concert with friends and the music was AMAZING!

I used the UNITY Stamp with blue chalk {sorry, the chalk was so old the lable wore off!} and then distressed it with Vintage Photo Distress Ink. I traced the pretty red border with Glossy Accents and then used Marth Stewart's Glitter to really jazz it up!

For the other side of the ornament I used Glossy Accents for the border, then Martha Stewart's Glitter. For the glitter journaling, I used Sakura Quickie Glue to write out "may your holidays be..." and then sprinkled Sterling Martha Stewart Glitter and then I used My Little Shoebox SNOWFLAKE Glitter Alphas for the "GLEE."
I love the song Get Happy/Happy Times Are Here Again...

love love love Barbara & Judy...

love love love Rachel & Kurt!!!

This ornament makes my tree musically merry and bright!!!


Thanks for stopping by!


Creative Cheers!!!

Winter Wonderland Ornaments... NINE

Happy Friday everyone!


Most of you probably already have your Christmas cards ordered, addressed and in the mail. Well, sadly I am not on the ball this year {expect mine sometime next year!} and I have a tendency to over-order because I have this fear of leaving someone out. To say the least we have quite a few and somehow they made it on our wild CA/MO journey. For the 9th ornament I used one of our leftover Christmas cards from a couple year's ago as the photo... see, I knew I would figure out a way to use all of those extras!!! I trimmed the PEPPERMINT Mini Alphas to spell out "Holiday Smiles" and added the red diecut rolly flower as the embellishment.


For the other side of the ornament I donned the COUNTING DOWN #9, cut the diecut flag banner in half to serve as the leaves and another rolly flower.


I embellished the rolly flower with pretty diamond stickles just to make them sparkle!


Thank you for stopping by!

Creative Cheers!

Winter Wonderland Ornaments... SEVEN

It's the 7th of December...
The rush of the holidays is in full swing...
And as a result this is going to be a short & sweet WINTER WONDERLAND ornament post!!!

You already know the products, see HERE for a refresher.

The Martha Stewart Glitter really makes the 7 pop and I really enjoyed playing with the Unity Stamps that were made specifically for this collection!
This is one of my favorite photos from this summer...
There is just something about hangin' with Grandpa in the International tractor...
Avery had a ball... "again Gam-pa, AGAIN!!!"
Here is an up close shot of the diecut rolly flower...
The pretty flower needed some leaves so I cut them out by hand and then stamped them!
Love love love how they turned out!!!
Thanks for stopping by today...
Be sure to tune in tomorrow...

CREATIVE CHEERS!


Tuesday, December 6, 2011

Winter Wonderland Ornaments... SIX


It is the 6th of December and time for another tag ornament! As I look back on the previous ornaments I am noticing a trend... and you all know what fun products are sitting on my craft table!

When we found out we had to move {the second time this year AZ to CA} I was "advised" to pack up my scrappy stuff into 2 big plastic bins. Yep, only 2!!! Ask yourself, what would you pack in two bins??? Hmm.................. so I guess you could say that I grabbed what was on my table at the time and am doing my best to be resourceful!

List of my go-to's while working with WINTER WONDERLAND:
Tim Holtz Vintage Photo Distress Ink from Ranger
Glossy Accents from Ranger
Stickles from Ranger
Sheet Music Stamp from Stampabilites
Tattered Angels Glimmer Mist
Zots from Thermoweb
Glitter from Martha Stewart
Variety of Bakers Twine Colors
Punches
Buttons & Baubles
Lace, Ribbons & Trims

For this tag I used the red polka dot diecut flower paired with hand cut leaves from the GUM DROP LANE paper, the #6 tag and layered them on the STARBURST paper.
For the other side of the ornament I chose this picture of Avery & I. SNOWFLAKE GLITTER ALPHAS and PEPPERMINT MINI's make up the "quality time" journaling.

I so appreciate you stopping by today!
Tomorrow is the 7th of 25 ornaments and it is tractor-ific!!!
Creative Cheers!

Monday, December 5, 2011

Winter Wonderland Ornaments... FIVE

Happy Monday!!! Today is day FIVE of my My Little Shoebox Winter Wonderland Ornament posts and with the chilly weather outside this one warms me right up! This is the famous Vaquero dish at one of my hometown favorites {thanks Dad!} and it is smothered in red and green chile. See the most frequently asked question in the state of New Mexico is "Red or Green?" meaning what kind of chile would you like with your meal and if you would like both you respond "CHRISTMAS!"
The other side of the ornament was made up of the Unity Tag Stamp from the Pretty Little Things collection on the GUM DROP LANE paper. The ink I used was Vintage Photo Distress Ink and the homemade flower embellishment was created with the EK Success punch on the SNOW FLAKE VALLEY paper.

Thank you for stopping by today!
Wishing you a super happy Monday and tune in tomorrow for day SIX!!!

Creative Cheers!

Saturday, December 3, 2011

Winter Wonderland Ornaments... FOUR

It is hard to believe that it is December 4th...
And December 4th just happened to fall on a Sunday...
A gameday Sunday...
I promise I didn't plan this...
It was just one of those things that was meant to be...

For my Winter Wonderland Ornament number FOUR I was thinking of all the gifts our family has been blessed with, so of course it meant it was time to make a present. I loved opening those prewrapped box presents where the tops would just slide off but were wrapped to the nines with the same wrapping paper! There was just something about these types of presents that just got me as a kid! Silly I know, but it is those child-like memories that just warms the heart - especially when you are far from loved ones.
These are my dear friends who have traveled the same road that my husband and I have. They are amazing women who put their heart and soul into all that they do, whether it is a charity event or cooking for a loved one. They are real, they are God-fearing and some of the most loving people I have met in my life. Sadly, we are all in different parts of the country this year, it is remarkable how quickly things can change. I miss them everyday, especially Sundays! So for Rachel, Serah and Jamie... I love you all and miss you dearly!!!
Thank you for letting be a sap today...
Tomorrow is a non-sappy ornament - I PROMISE!!!
In fact... it's kinda SPICY!!!

Creative Cheers!